Follow Us
Monarch Butterflies Logo

How to Transfer Butterflies for a Mass Release

Please note this article only applies if you ordered Butterflies for Release. If you ordered a Butterfly Raising Kit, please click here. As the instructions for raising, hatching and releasing butterflies is different than the instructions below.


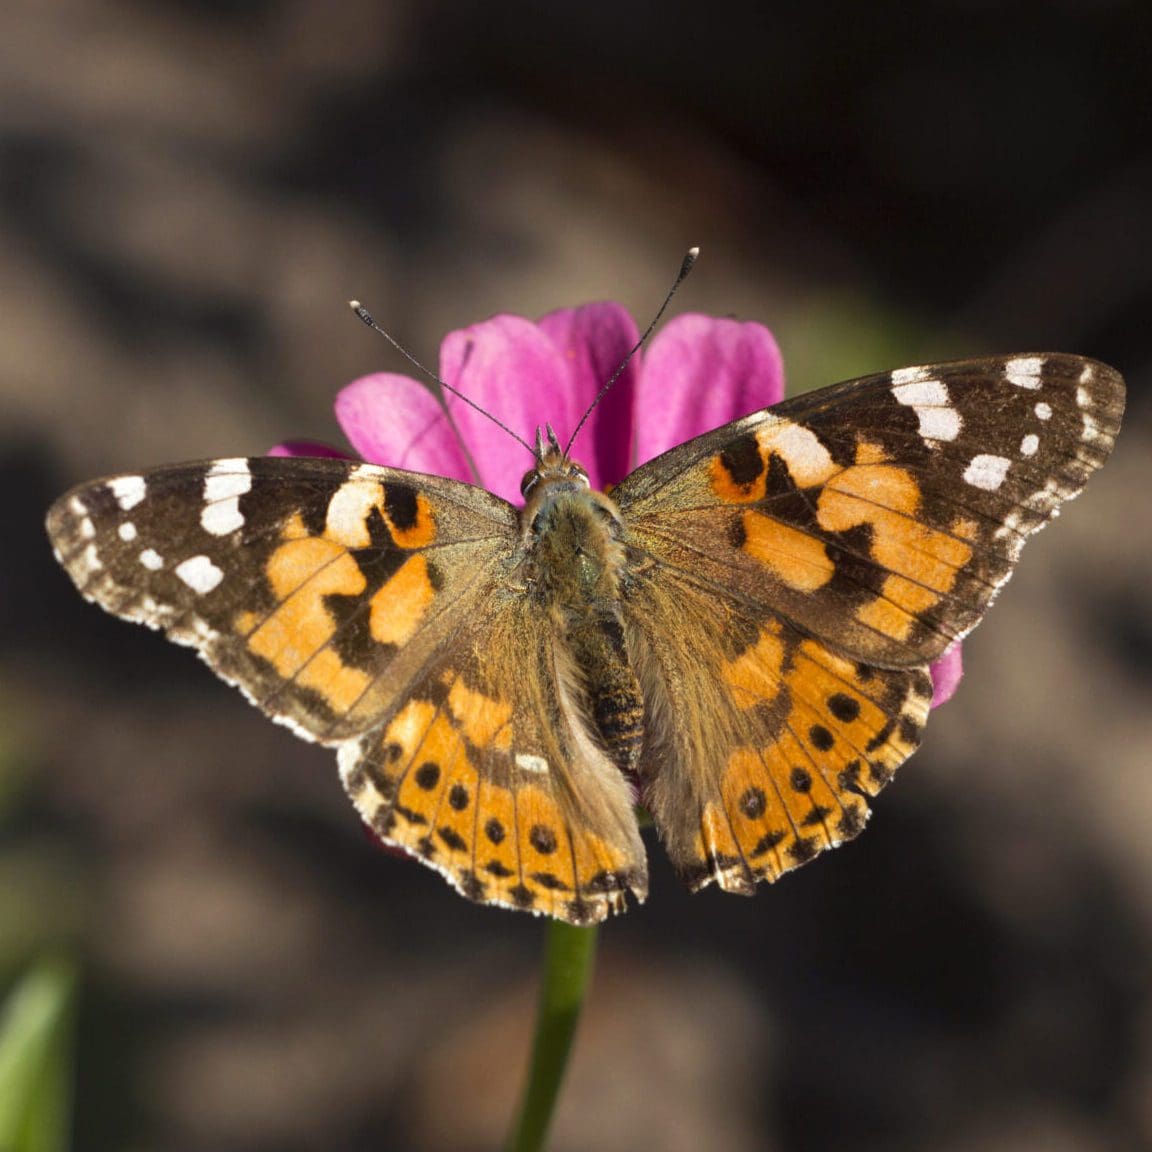
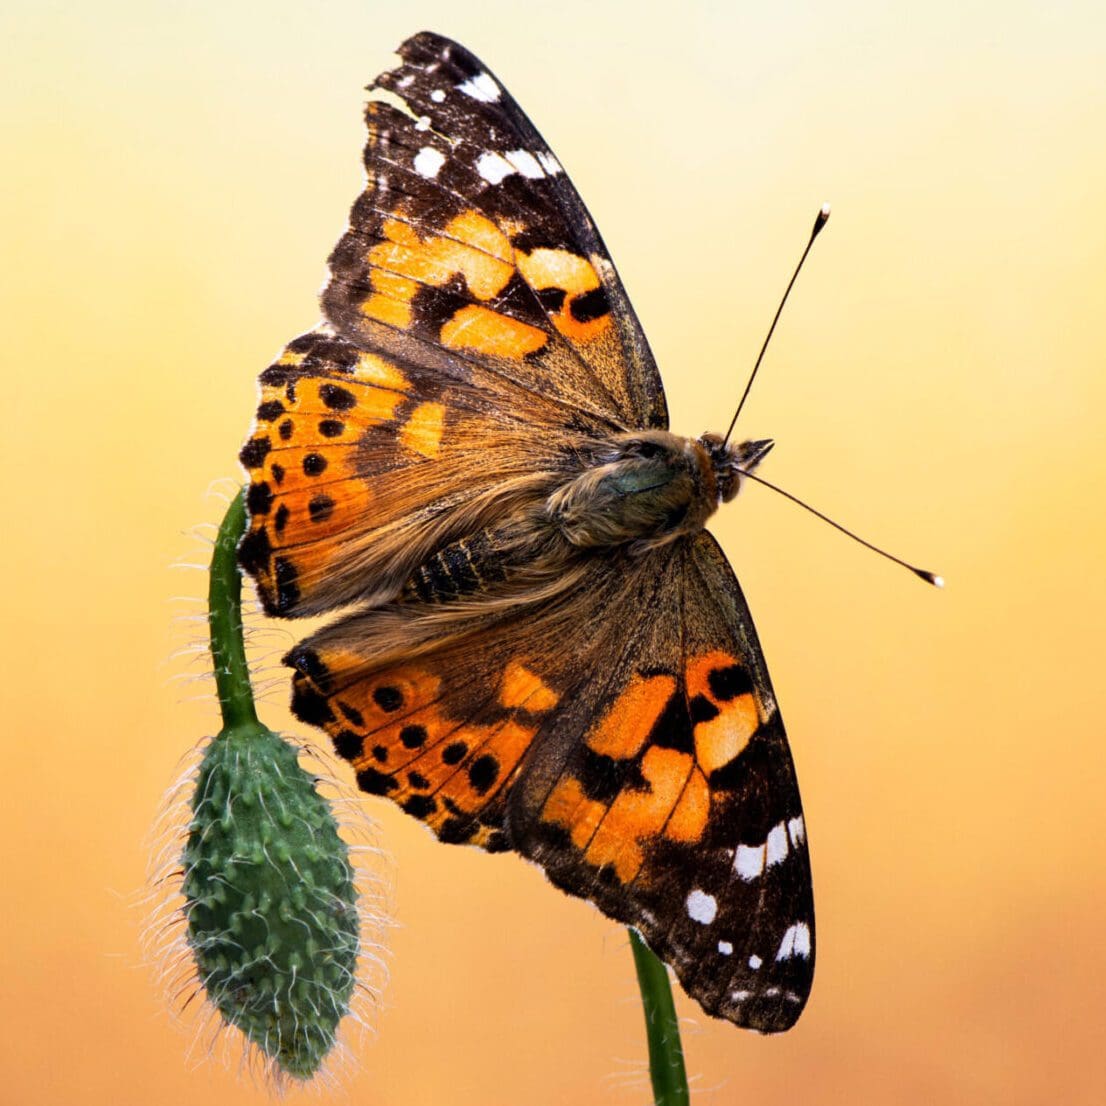
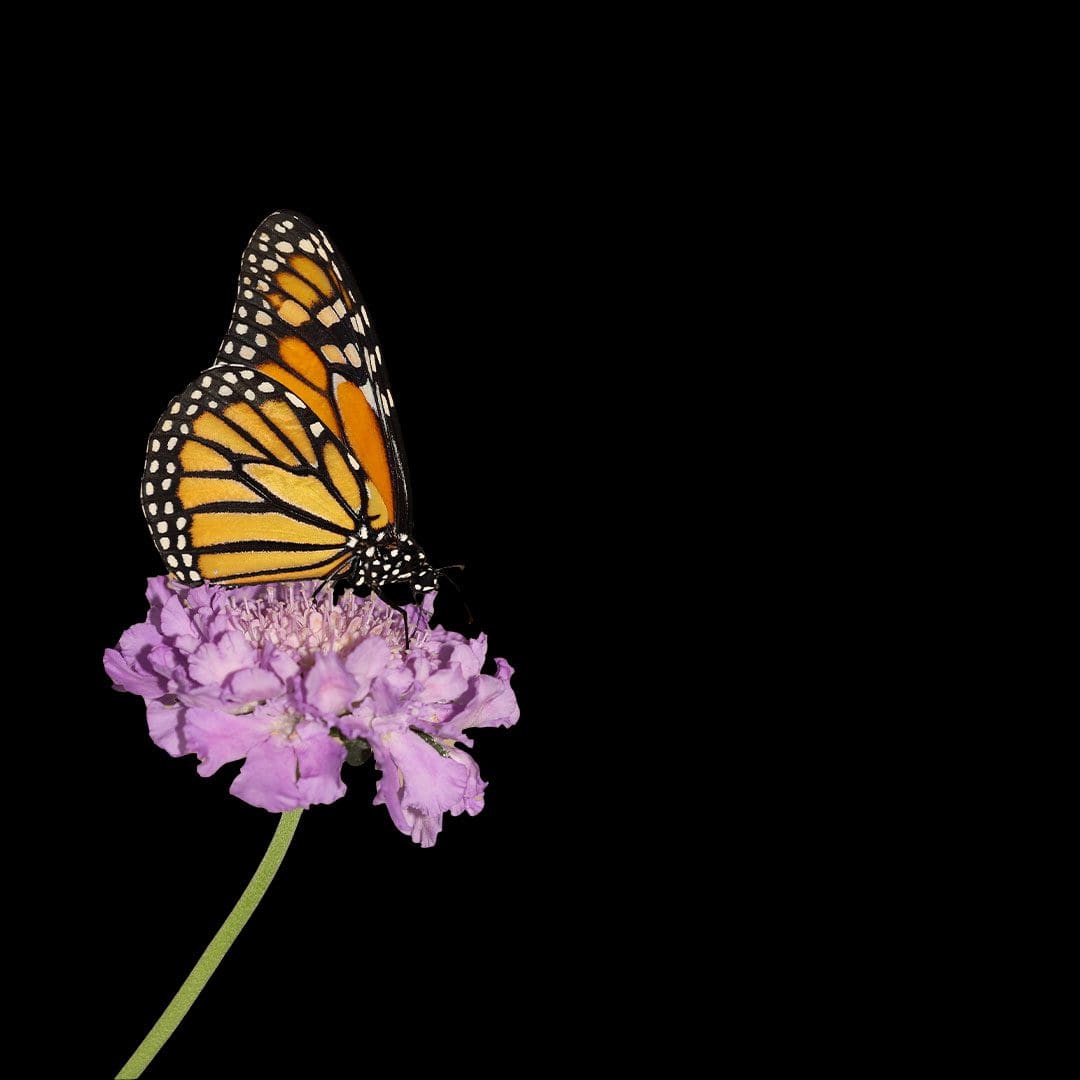
Ever wondered why your butterflies arrive in individual envelopes? It’s all about preserving their delicate wing condition and encouraging a state of dormancy during shipping. Here’s a step-by-step guide on when and how to transfer these enchanting creatures for a flawless mass release.


When should we transfer the butterflies if you are using a Cardboard Release Box:

  • Evening before a morning event or the day of for events later in the day.
  • Store the box in a cool, dark place until transport to the event.
  • Keep butterflies in a warm area just before releasing because they need to be warm in order to fly.


When should we transfer the butterflies if you are using a Net Hanging Cage or Tabletop Cage/Sheer Box:

  • Transfer an hour or two before the event to prevent wing damage.
  • For solid or covered boxes, earlier transfer is possible.
  • Keep the cage/box in a cool, low-light place to keep butterflies calm.
  • Avoid direct sunlight; shade is ideal.
  • In a display net cage, flowers, ferns, and stems with leaves will help provide some shade for them if they are outdoors. 
  • Keep butterflies in a warm area just before releasing because they need to be warm in order to fly.


Step-by-Step Transfer Process

Step 1 – Pre-Cooling: Place the butterfly box in a household refrigerator (not freezer) for 15-20 minutes before transfer.

Step 2 – Preparation of Display Cage or Box:

  • Line cardboard box sides or net cage with paper toweling or tulle to give butterflies a place to perch. 
  • Consider placing a piece of tissue paper crinkled up to form peaks in one or more corner of the box or net cage. Then, when you lift the lid off the box to release your butterflies, you can gently tug on the tissue paper to gently stimulate them all to fly out. 
  • Ensure clean, dry hands to avoid wing damage.

Step 3 – Transfer Environment: Choose a small room with low ceilings for the transfer. A bathroom works well.

Step 4 – Transfer:

  • Remove butterflies from the refrigerator.
  • Work steadily, picking up each envelope and holding it just inside the box or the net cage
  • Open/unfold the envelope and let the butterfly slide out onto the bottom of the box or net cage.
  • As they warm up, expect fluttering. This is normal.
  • Quickly close the lid of the box or netting after all butterflies are transferred.

Step 5 – Escaped Butterflies: Should a butterfly escape during the transfer process, you will need to recapture it. This is much easier than it sounds and despite what you’ve always been told, handling a butterfly gently will not hurt it. Butterflies are attracted to light, so the escapee will fly toward a window or other source of light in the room. You can cup your hands around the escapee and transfer it to the box/cage.

By following these detailed steps, you’ll ensure a smooth and mesmerizing butterfly release, creating a magical moment for your special occasion. Don’t fret about the details—just let the butterflies take flight! 🦋.

Leave a Reply

Your email address will not be published. Required fields are marked *

Share Page On